How to Set Up a Cash Register
Inhoudsopgave
Samenvatting
Setting up a kassa is a crucial task for any retail business. A properly configured register ensures smooth transactions and a streamlined workflow, benefiting both the business and its customers. In this guide, we’ll break down each step to help you get your cash register up and running efficiently.
Step 1: Position Your Cash Register in the Ideal Location
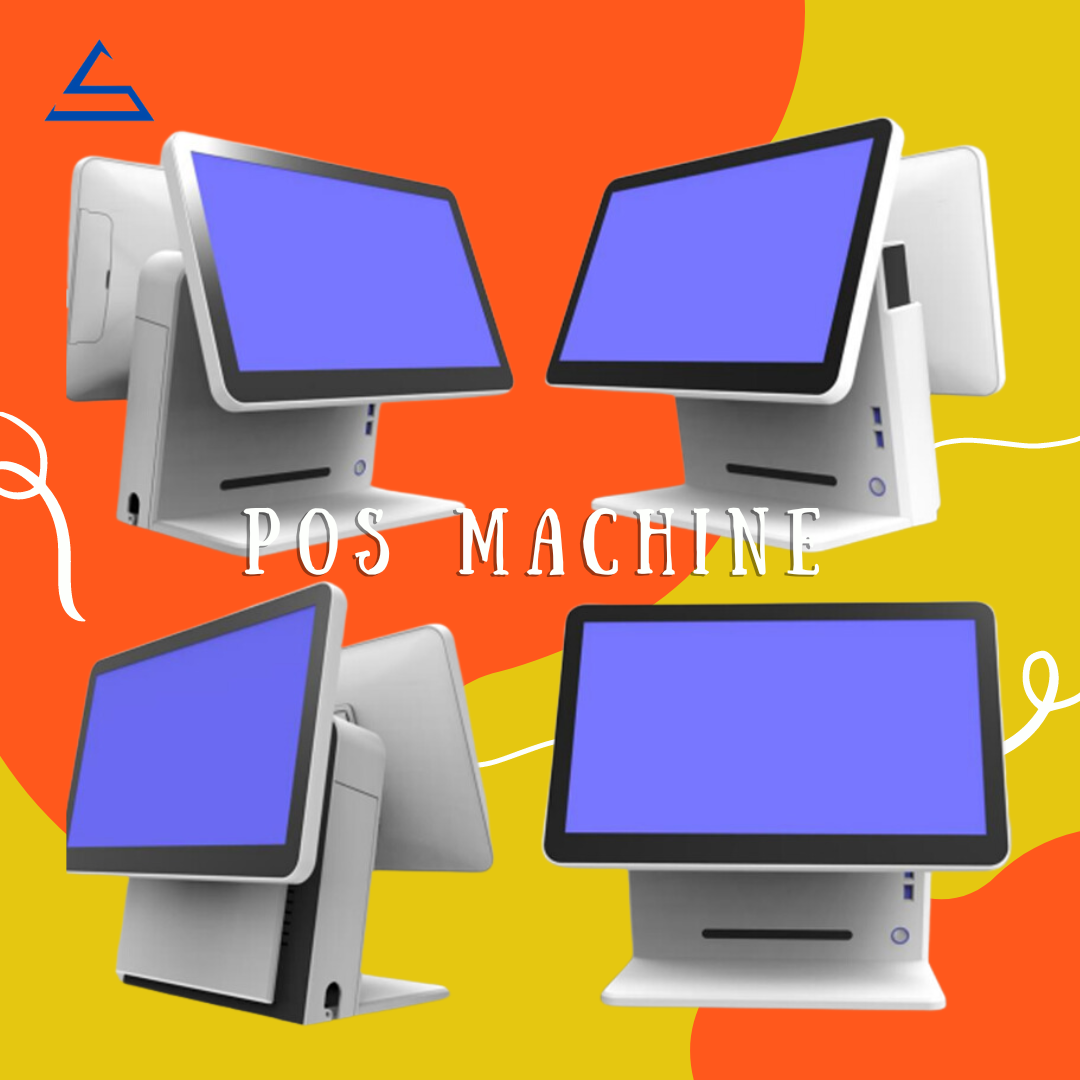
Begin by placing the kassa on a flat, stable surface. Ideally, it should be located on the cashier counter or at the POS terminal where customer interactions happen. Positioning it strategically helps reduce errors and ensures that transactions are processed quickly and smoothly.
Next, plug the cash register directly into an electrical outlet. Avoid using extension cords or surge protectors to prevent any interference or potential disruptions.
Important Note: Always plug the cash register directly into the wall outlet. Avoid using power cords or adapters that may disrupt the electrical flow.
Step 2: Install the Backup Battery
The backup battery plays a crucial role in ensuring the continued functionality of your cash drawer during power outages. It’s essential to install the battery before operating the cash register.
To begin, remove the receipt cover to access the battery compartment. Some models may require you to use a small screwdriver to open the compartment beneath the receipt area.
Once the battery compartment is open, insert the battery as per the instruction manual that comes with your cash register. Close the compartment cover when finished.
Pro Tip: Replace the battery annually to maintain the stability and uninterrupted functionality of your cash register.
Step 3: Load the Receipt Paper Roll
The next step involves installing the receipt paper roll. Locate the receipt drawer and remove the cover. Insert the paper roll and feed it through the slot at the front of the register, where your cashier can tear off receipts for customers.
To ensure the paper feeds correctly, press the “FEED” button. This will engage the mechanism and advance the paper into position.
Tip for Efficiency: Make sure the edge of your paper roll is straight to prevent any jamming or misalignment when feeding it into the tray.
Step 4: Unlock the Cash Drawer
To open the drawer for the first time, use the key provided with your cash register. Once unlocked, you can leave the key in the drawer during business hours to streamline your process.
Security Tip: Always lock the cash drawer after each sales session and store the key in a secure location to avoid unauthorized access.
Step 5: Power On the Cash Register
De meeste cash registers feature an ON/OFF switch located on the side or back. In some models, this function is controlled by a key on the front. Simply turn the key to the “REG” position to activate the register.
For more modern cash registers, you may find a “MODE” button instead of the start key. In this case, press the “MODE” button and navigate to “REGISTER” mode or “ACTIVE” mode.
Step 6: Configure Tax Settings and Other Key Functions
Every retail business has different needs when it comes to tax settings. Some items may be taxable, while others are not. It’s crucial to set up your cash register to accommodate these distinctions.
Your cash register will typically include function buttons to program settings like tax rates, date, and time. Depending on the model, you may need to press the mode button to access the program function, or use the “PRG” or “P” key to configure these settings.
For example, many cash registers have four tax buttons allowing for different tax rates like VAT, GST, or PST, depending on your region.
Programming Tip: Always refer to your user manual to correctly configure tax rates and other settings, ensuring your business operates in compliance with local regulations.
Step 7: Integrate POS Devices for Seamless Operation
For a complete POS setup, you’ll need to connect various devices such as a credit card reader, receipt printer, and barcode scanner. These devices may connect to your cash register either through wired connections or wirelessly via Bluetooth.
Before starting your business day, it’s a good practice to run test transactions to ensure that all devices and systems are functioning correctly. This will also give your staff an opportunity to familiarize themselves with the operation of the cash register.
Additionally, integrating your POS system with accounting software, shipping platforms, and ERP systems can significantly enhance the efficiency of your business operations. This allows for smoother transactions, accurate financial tracking, and seamless inventory management.
Enhanced Operations Tip: Modern POS systems can be integrated with various software platforms, optimizing not only transactions but also other essential business functions such as inventory management and customer relationship management.
| Key POS Devices | Functionaliteit |
|---|---|
| Credit Card Reader | Facilitates card payments |
| Printer voor ontvangstbewijzen | Prints customer receipts |
| Barcodescanner | Scans product barcodes for accurate pricing |
| Kassalade | Stores cash and change securely |
Step 8: Safeguard Your Cash Drawer
To maintain security and reduce the risk of theft, always close the cash drawer after each transaction. At the end of the business day, it’s essential to empty the cash drawer and store its contents in a secure location.
Additionally, make sure to balance the cash drawer before closing up for the day. This practice not only ensures accuracy but also keeps your business operations transparent and secure.
Conclusie
Setting up a cash register may seem like a straightforward task, but attention to detail is essential for ensuring smooth operations. From correctly positioning your register to integrating additional POS devices, each step contributes to a well-functioning and secure business environment.
By following this guide, you’ll ensure your cash register is set up for optimal performance, enhancing both the checkout experience for your customers and the operational efficiency of your business.
FAQ
Q1: How often should I replace the battery in my cash register?
It’s recommended to replace the backup battery once a year to ensure uninterrupted operation during power outages.
Q2: Can I use a power strip or surge protector for my cash register?
It’s best to plug the kassa directly into a wall outlet to avoid potential disruptions in power supply.
Q3: What should I do if the receipt paper jams during printing?
First, ensure that the edge of the paper roll is straight. If jamming continues, refer to your user manual for troubleshooting tips.
Q4: Can I integrate my cash register with other business systems?
Yes, many modern POS systems allow integration with accounting, shipping, and inventory management platforms for enhanced business efficiency.
Q5: Is it necessary to lock the cash drawer after each transaction?
For security purposes, it’s highly recommended to lock the cash drawer after each transaction or at the end of a business session.
Tags
Product
Blog
Neem contact met ons op
Verwante producten
Veelgestelde vragen over het maken van houten kisten

