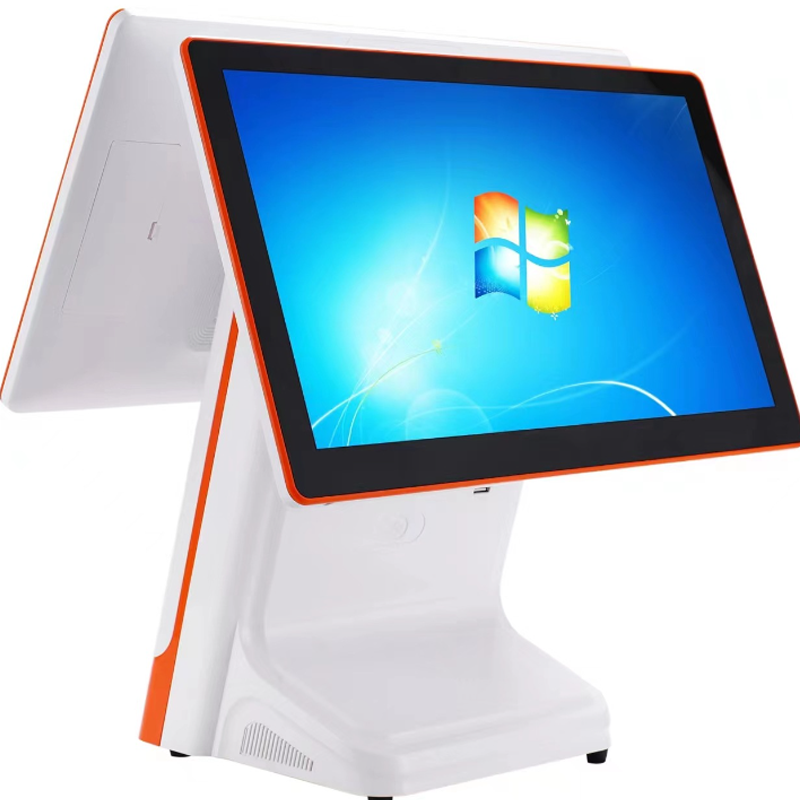
How to Set Up a POS Cash Register: A Step-by-Step Guide
Πίνακας περιεχομένων
Περίληψη
Setting up a Ταμειακή μηχανή POS is an essential task that ensures smooth operation for any retail business. In this guide, we’ll walk through the fundamental steps for configuring your cash register, while highlighting tips to enhance performance and longevity. From positioning your device to connecting other POS terminals, every step is critical to ensuring an optimized retail environment.
Step 1: Position Your Cash Register for Optimal Use
The first step in setting up your cash register is placing it on a stable, flat surface, ideally at the checkout counter. Ensure the placement allows easy access to other key point-of-sale (POS) terminals, such as card readers and barcode scanners, facilitating seamless transactions for both customers and staff.
Tip: Plug the cash register directly into a power socket. Avoid using extension cords, as these may create unstable power connections that could affect the system’s functionality.
Step 2: Install the Backup Battery
The backup battery is a crucial element of your cash register setup, providing power to the cash drawer in case of outages. Without this battery, the cash drawer may fail to open during a power failure, which could disrupt sales operations.
- Remove the receipt cover to access the battery compartment.
- Follow the instructions in the manual to install the battery properly.
- Ensure the compartment is sealed securely after installation.
Note: Replace the battery annually to maintain uninterrupted cash register performance.
Step 3: Install the Receipt Paper Roll
Receipt paper installation is another important step to prepare your POS system. Open the receipt cover, place the roll into the compartment, and pull the paper forward toward the output section of the cash register.
- Press the “FEED” button to ensure the paper loads properly.
- Always cut the end of the roll into a straight edge to ensure smooth feeding through the mechanism.
By ensuring receipt paper is correctly loaded, you avoid common issues like paper jams or misprints that could interrupt customer service.
Step 4: Unlock the Cash Drawer
Each cash register comes with a unique key to unlock the cash drawer for the first time. This key is essential for security, allowing you to open or lock the drawer before and after business hours.
Once unlocked, leave the key in the drawer during your working hours for easier access, but always remember to lock the drawer at the end of each day to protect the cash.
Note: Never lose the key, as it plays a crucial role in ensuring security.
Step 5: Power On and Initialize the Register
The next step involves turning on your cash register. Typically, this can be done using a switch located on the side or back of the device. Some models feature a key or button on the front panel.
- On newer models, you may find a “MODE” button instead of the traditional switch. Scroll through the modes and select “REGISTER” to activate the cash register for use.
This action not only powers the device but also prepares it for any programmable functions, ensuring that it’s ready to serve your retail environment effectively.
Step 6: Program the Cash Register for Your Retail Needs
Every retail store has a mix of taxable and non-taxable items. To customize the cash register for your store’s specific needs, access the programming functions to configure taxes, dates, and times.
- For example, some cash registers feature multiple tax buttons that allow you to configure VAT, GST, or PST based on your location.
- Refer to your user manual for step-by-step guidance on setting these parameters.
Proper configuration ensures compliance with local tax regulations and accurate tracking of sales records.
Step 7: Connect Peripheral Devices to Your Cash Register
Modern retail stores use multiple POS devices, including cash drawers, receipt printers, barcode scanners, and card readers. To enhance efficiency, connect these devices to your cash register, either through wired connections or Bluetooth.
Conduct a test transaction before opening your store to ensure all devices communicate effectively and that staff are familiar with the system.
Advanced Integration: For seamless operations, connect your POS system to accounting, shipping, and ERP software. This integration not only streamlines transactions but also enhances inventory management, financial tracking, and operational efficiency.
| Peripheral Devices | Λειτουργία |
|---|---|
| Σαρωτής γραμμωτού κώδικα | Scans product information |
| Credit Card Reader | Facilitates card transactions |
| Εκτυπωτής αποδείξεων | Prints receipts for customers |
| Συρτάρι μετρητών | Safely stores cash and coins |
Step 8: Maintain Security and Close the Drawer
After each transaction, close the cash drawer immediately to minimize the risk of theft. At the end of the day, it’s crucial to balance your cash drawer, store the contents in a safe place, and ensure that your POS system is securely powered down.
Pro Tip: Regularly audit your cash drawer’s contents to maintain financial accuracy and identify discrepancies early.
ΣΥΧΝΈΣ ΕΡΩΤΉΣΕΙΣ
1. What should I do if my cash register does not power on?
Ensure the power cable is securely plugged into a socket and check for any circuit issues. If the cash register has a backup battery, verify that it is installed correctly.
2. How often should I replace the cash register battery?
It’s recommended to replace the battery once a year to maintain optimal performance and prevent power failure in critical situations.
3. Can I connect multiple POS devices to my cash register?
Yes, most modern cash registers support multiple connections with peripheral devices like barcode scanners and receipt printers, either through wired connections or Bluetooth.
4. How do I configure tax rates on my cash register?
Refer to the user manual for your specific model. Most cash registers allow you to program multiple tax rates, such as VAT and GST, depending on your location.
5. What security measures should I follow for my cash drawer?
Always lock the cash drawer when not in use, and store the key in a secure location. Regularly balance and audit the drawer to prevent discrepancies
Ετικέτες
Προϊόν
Blog
Επικοινωνήστε μαζί μας
Σχετικά προϊόντα
Συχνές ερωτήσεις σχετικά με την κατασκευή ξύλινων κιβωτίων


